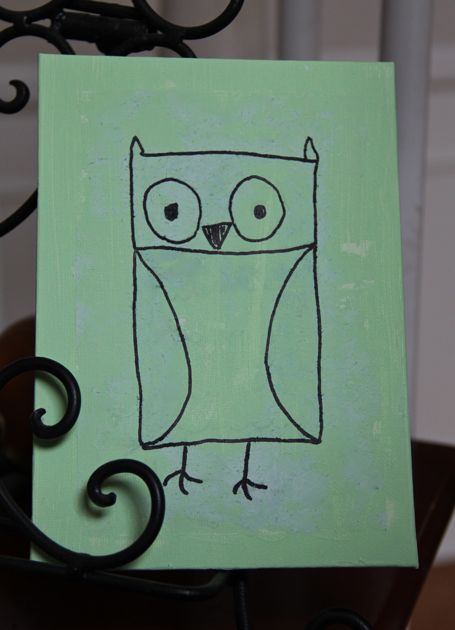
Young Maker, Maria, was invited to her cousin's owl themed birthday party, and this gave me the notion to finally try a project I've been eager to attempt... painting a stencil onto a T-shirt.
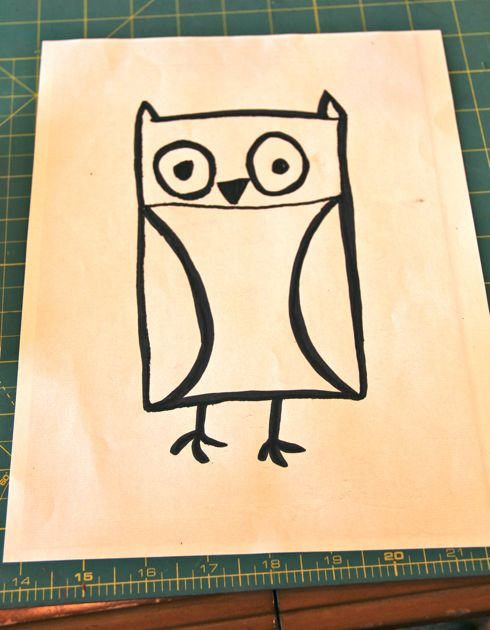
Painting a stencil onto a T-shirt is a creative project I've seen around the Internet, many times, but I remember where I saw it the first time, and that was at Amanda Blake Soule's Blog, SouleMama, and in her book "The Creative Family." It's almost embarrassing to realize how long it took me to make the time, and muster the courage to try this, because it turns out it is really an easy project, and a lot of fun, too. It took me almost almost four years, from the time I first read "The Creative Family" until we got creative with an old shirt, some freezer paper, and a bit of paint. I hope you won't wait as long as I did to give this a try!
Supplies and Suggestions:
1. One simple, line drawing, or a silhouette. I chose an owl painting of Maria's.
2. Maybe photocopy the original drawing to get the desired size, and to protect the original. I increased the size of the owl to "fit the page."
3. Sharpie, or any dark, heavy, permanent marker
4. A precision knife, like an X-acto.
5. A self healing cutting board is nice, or any surface you can afford to damage when cutting out your stencil.
6. A T-shirt, apron, tote bag... something to beautify! I tried this on a shirt that was the victim of chocolate ice-cream, and poor laundering habits.
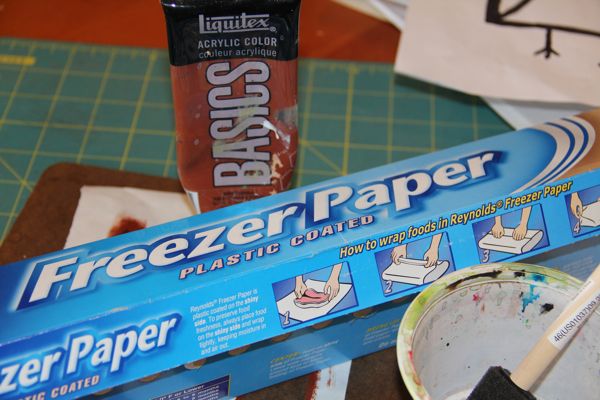
7. Freezer paper. See picture. This stuff is at the market, and it's wonderful to have on hand.
8. An iron. Set it for cotton, and turn of the steam.
9. Acrylic paint. One reason I hesitated to attempt this project is that I worried about having the "right" kind of paint, but then I realized we have been making accidental acrylic paint art on our clothes for years... and even the cheapie kind of paint we have is permanent, and washer proof.
10. A foam brush.
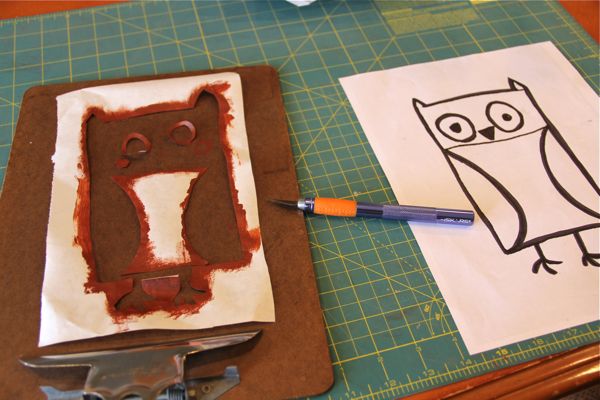
Freezer paper on the left, already cut, and painted. Photocopied drawing on the right. I'm sorry: I took this picture after the fact, but here's what to do...
~With the photocopy of your art, thicken the lines with a black marker. The bolder the image, the easier it will be to first trace, then cut away parts, and have nice clean lines for your finished image.
~I put the bold, photocopied picture under a piece of freezer paper. The freezer paper should be shiny side down. You are going to trace, with the black marker, the original drawing, onto the dull side of the freezer paper.
~Freezer paper is sturdy, nice to work with. Think about the part of the picture you want painted, and the part you want unpainted... this sounds obvious, but I found it a bit tricky once I started cutting away parts. I figured out, the hard way, that the eyes and small details would be cut away... but that's okay... save even tiny bits, because the freezer paper will iron onto the fabric!
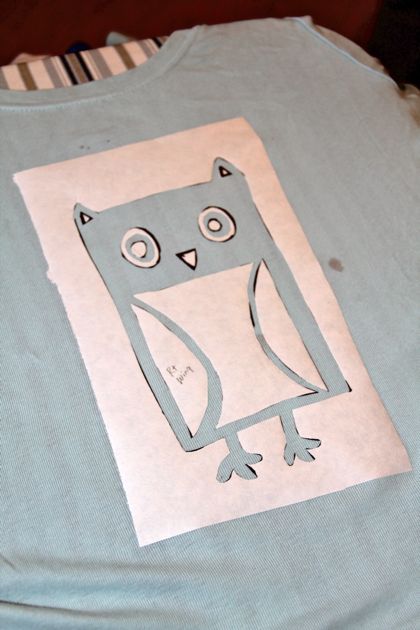
~Do you see what I mean? I saved the tiny cut-out beak and pupils, and with the iron set on the cotton setting, without any steam, I pressed the freezer paper, shiny side down, onto the T-shirt. Don't slide the iron around. Just for a few seconds set the iron on the shapes and they will cling firmly to the fabric. Now we paint!
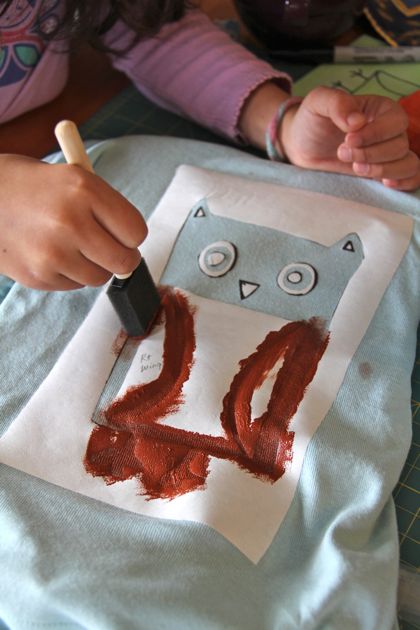
~Using our basic brown, acrylic paint, and a foam brush, Maria and I took turns dabbing on the paint. We had a clip board inside the shirt, to keep the paint from soaking through. Don't let the paint be watery or too heavily applied... you are basically just staining the shirt.
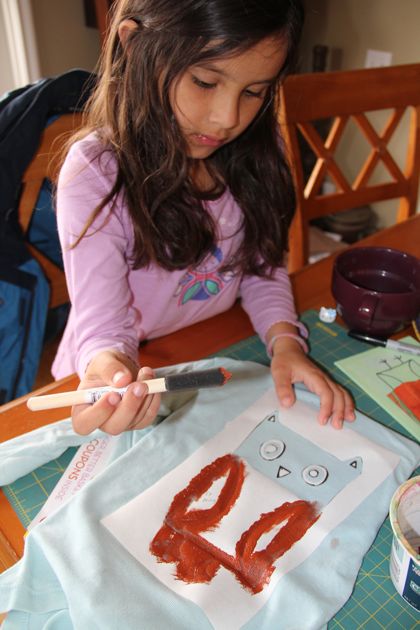
~We kind of pushed the paint into the fabric, taking care not to let brush strokes push the freezer paper off. The freezer paper never budged! The paint went on easily. And because we were anxious to see this done, and have Maria wear her new shirt to the party, I brought out the hair dryer. I let the hair dryer dry the paint... it took only a few minutes.
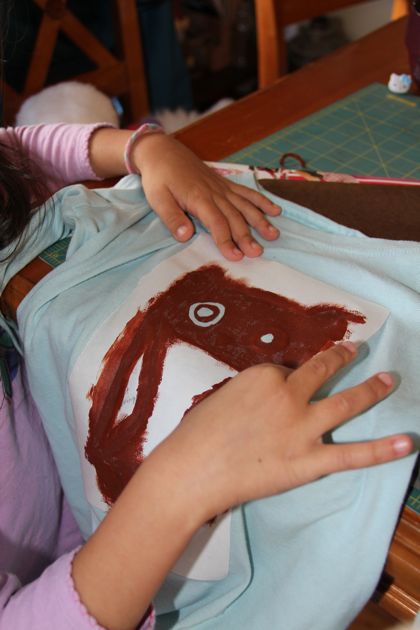
~The fun part. The reveal! When the paint was dry to the touch, Maria peeled off the freezer paper. It worked! It was so easy, and there was no smudging, or seeping of paint. Wow!
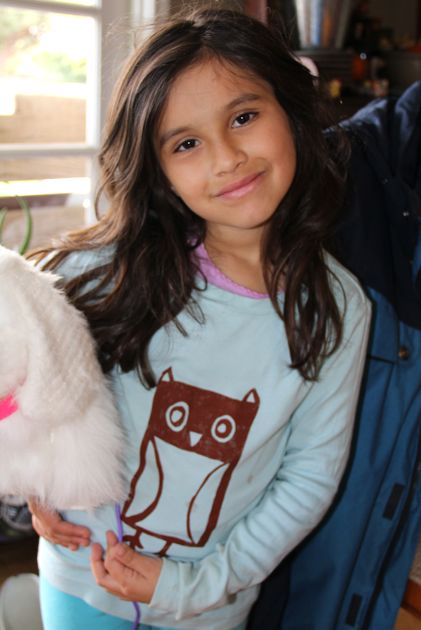
Ta Da!
~I may iron it, before I toss it in the wash... just to get the paint set real good, but otherwise it seems to have worked just fine. This sort of easy-creative success makes me giddy.
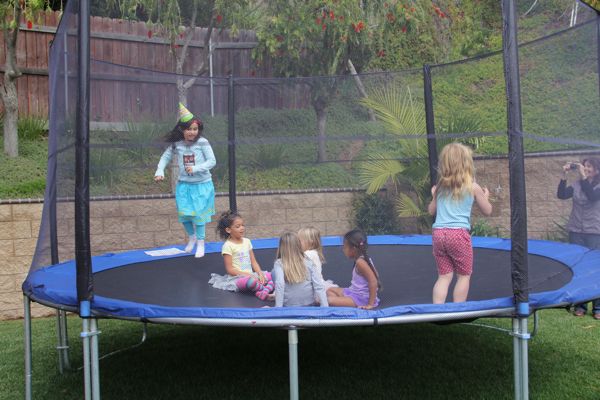
Maria's old shirt is new, and party-ready-bounce-proof!
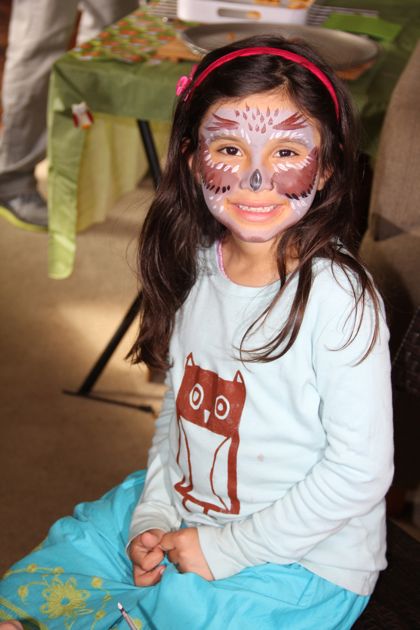
Whoo-Whoo for Maker fun!
5 comments:
I love it! I may try it this summer if I have some free time!!!
Do try it! You won't need too much free time... writing this post took longer than finishing the project... hahaha! But I understand how it is; plenty of ideas-plans-goals, but not enough hours in the day. Let us know how it goes.
That shirt was so cute. Kudos to you for completing the whole project right before the party.
That is SOOO cute! I love it!! I'm not going to try it now - but once we get down there, let's make a date to do it with the girls!! I bet Paul would even like making one!
A date it is, then.
I can't wait!
Post a Comment